
ELD
How to install an ELD device: Step-by-step guide for truck drivers
June 18, 2026


Step-by-step guide to installing an ELD device. Learn how to connect your ELD to the truck, set up the app, create a driver profile, and start logging Hours of Service. Suitable for PT30 and other ELD devices.
How to install an ELD device
Electronic Logging Devices (ELDs) have become a mandatory part of compliance for most commercial drivers operating in the United States. However, many owner-operators and fleet drivers still worry about installation, assuming they need a mechanic or specialized technical knowledge.
The good news is that most modern ELD devices can be installed in just a few minutes. In this guide, we'll walk through the complete ELD setup process-from locating the diagnostic port to completing your first test log.
If you're using a Motion ELD PT30 device, the installation process is especially simple and can usually be completed in under five minutes.
What you'll need before installing an ELD
Before starting the installation, make sure you have the following:
- Smartphone or tablet (iOS or Android)
- ELD device (such as Motion ELD PT30)
- Internet connection
- Driver account credentials
- Access to your truck's diagnostic port
Most ELD systems connect directly to the truck's Engine Control Module (ECM) through a diagnostic port. Depending on the truck model, you may need one of the following connector types:
- OBD-II
- 6-pin connector
- 9-pin connector
- 14-pin connector
Check your vehicle specifications or ELD compatibility guide to determine which connector your truck uses.
Step 1: Locate the diagnostic port (OBD-II / 9-Pin / 14-Pin)
The first step in ELD installation is finding the truck's diagnostic port.
In most commercial trucks, the port is located:
- Under the dashboard
- Near the steering column
- Around the driver's footwell
- Behind a removable panel
Common port types
9-Pin Port
One of the most common connectors used in heavy-duty trucks manufactured after 2016.
6-Pin Port
Frequently found in older commercial vehicles.
14-Pin Port
Common in many heavy-duty truck brands and fleet vehicles.
OBD-II Port
Typically used in light-duty commercial vehicles and pickup trucks.
If you're unsure which port your truck uses, consult the vehicle manual or contact Motion ELD support.
Step 2: Connect the ELD device
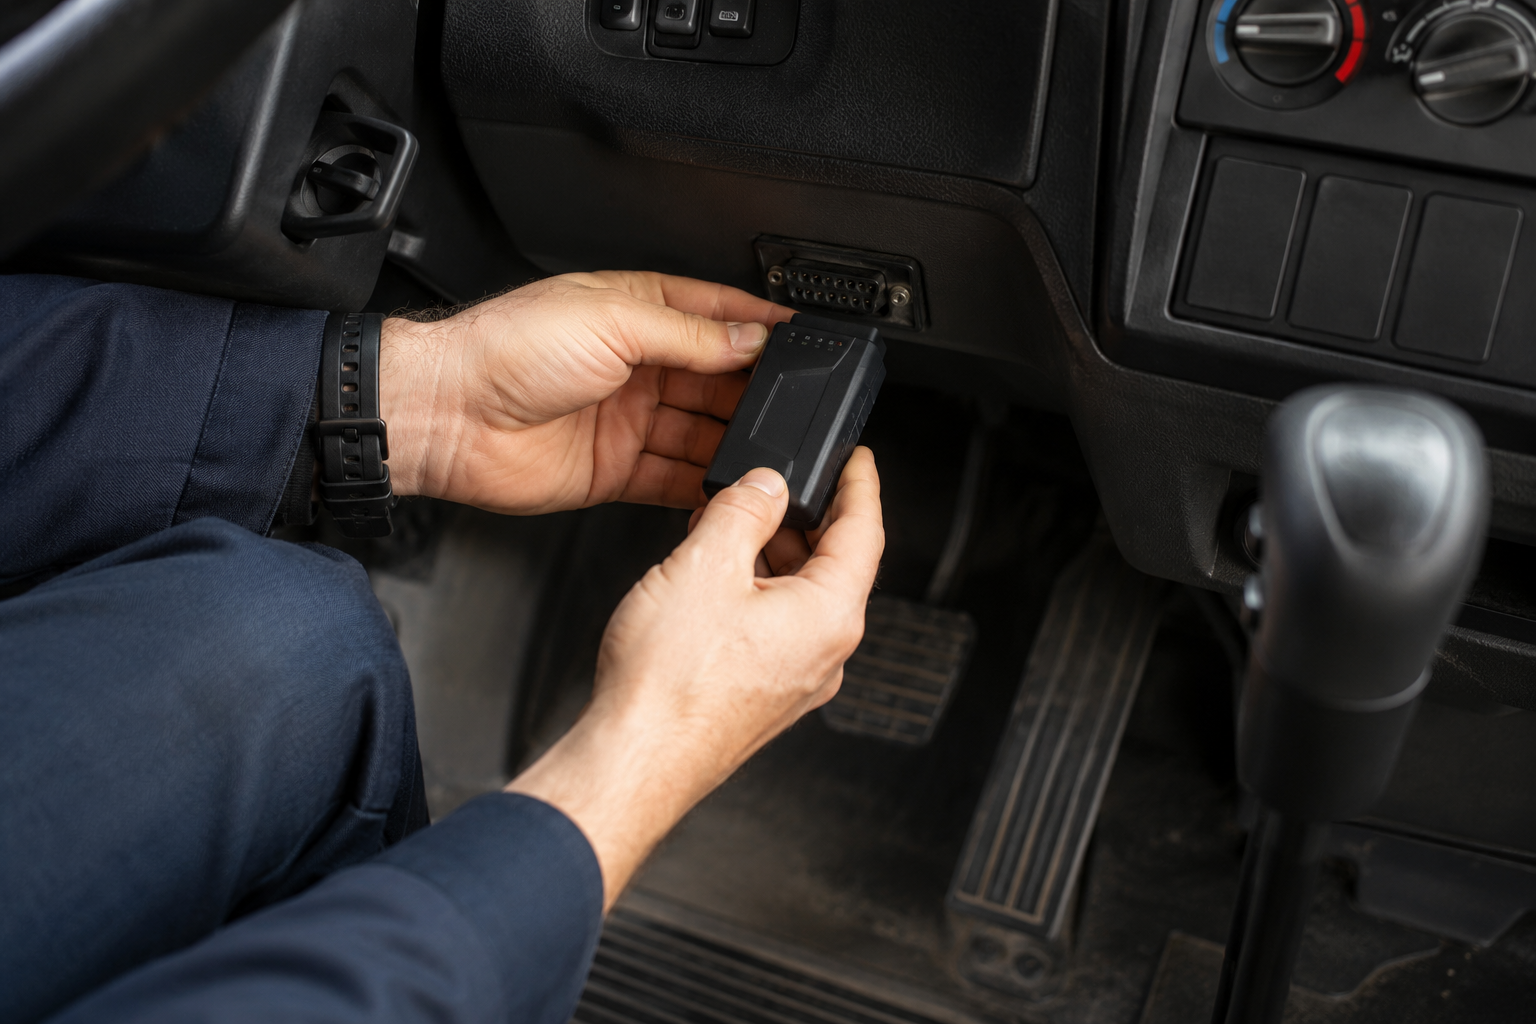
Once you've located the diagnostic port, plug the ELD device into the connector.
ELD Device plug-in process
- Turn off the truck engine.
- Insert the ELD device firmly into the diagnostic port.
- Ensure the connection is secure.
- Start the engine.
- Wait for the device indicator lights to activate.
Most modern ELD devices automatically begin communicating with the ECM once power is supplied.
Verify device status
After plugging in the device:
- Check for power indicators.
- Confirm that the device is receiving engine data.
- Verify Bluetooth functionality if required.
For Motion ELD PT30, status indicators typically show power and connectivity within a few seconds after startup.
Step 3: Install the Motion ELD app
The next step is installing the mobile application used to manage Hours of Service (HOS) logs.
For iPhone users
- Open the App Store.
- Search for Motion ELD.
- Download and install the application.
- Allow requested permissions.
For Android users
- Open Google Play Store.
- Search for Motion ELD.
- Install the application.
- Grant required permissions.
Required permissions
The application may request access to:
- Bluetooth
- Location services
- Notifications
- Mobile data
These permissions help maintain FMCSA compliance and support accurate electronic logs.
Step 4: Create driver profile and assign the vehicle
After installing the application:
- Open Motion ELD.
- Log in using your credentials.
- Create or verify your driver profile.
- Enter vehicle information.
- Assign the truck to your account.
Information you may need
- Driver name
- CDL information
- Truck number
- VIN number
- Carrier name
- DOT number
Accurate information ensures that all logs are correctly associated with the driver and vehicle.
VIN Verification
Always double-check the VIN number before saving your profile. Incorrect vehicle information can create compliance issues during inspections.
Step 5: Perform your first test drive and verify logs
Before beginning regular operations, perform a short test drive to confirm the system is working correctly.
Start test trip
- Turn on the vehicle.
- Connect the app to the ELD device.
- Verify engine synchronization.
- Begin driving for a short distance.
- Stop and review recorded data.
Check the following
- Driving status changes automatically.
- Engine hours appear correctly.
- Vehicle movement is recorded.
- GPS location updates properly.
- Duty status logs are generated.
Verify HOS data
Review your Hours of Service dashboard and ensure:
- On-duty time is recorded.
- Driving time is accurate.
- Vehicle identification is correct.
- Logs are visible in the application.
This simple test can prevent compliance issues later on the road.
Common ELD installation problems and how to fix them
Even though installation is usually straightforward, some drivers encounter issues during setup.
Bluetooth cannot find the device
Possible causes:
- Bluetooth disabled on the phone
- Device not powered
- App permissions not granted
Solutions:
- Restart Bluetooth
- Restart the app
- Reconnect the ELD device
- Verify permissions
No engine data appears
Possible causes:
- Incorrect cable adapter
- Loose connection
- Unsupported diagnostic port
Solutions:
- Reinsert the device
- Verify cable compatibility
- Check vehicle compatibility
ELD not connecting to ECM
Possible causes:
- Faulty adapter
- Damaged diagnostic port
- Device configuration issue
Solutions:
- Inspect connectors
- Test another adapter
- Contact support
GPS signal Is missing
Possible causes:
- Poor cellular coverage
- Location services disabled
Solutions:
- Enable GPS permissions
- Move vehicle to an open area
- Restart the application
Driver logs are not updating
Possible causes:
- Driver not assigned to vehicle
- Synchronization issue
Solutions:
- Verify account setup
- Refresh synchronization
- Log out and back in
Why proper ELD setup matters
A properly installed ELD does more than satisfy FMCSA requirements.
Benefits include:
- Accurate Hours of Service tracking
- Reduced paperwork
- Faster roadside inspections
- Improved compliance management
- Better fleet visibility
- Reduced risk of violations and fines
Incorrect installation can lead to missing data, compliance violations, and unnecessary downtime.
Conclusion
Installing an ELD device is much easier than many drivers expect. With the right adapter, a compatible smartphone, and a few minutes of setup time, you can be fully compliant and ready to drive.
The process includes:
- Finding the diagnostic port.
- Connecting the ELD device.
- Installing the Motion ELD app.
- Creating a driver profile.
Performing a test drive and verifying logs.
Motion ELD's PT30 device is designed for quick installation without requiring a mechanic, making compliance simple for owner-operators and fleets alike.
Get started with Motion ELD today
Looking for a reliable FMCSA-compliant ELD solution?
Order the Motion ELD PT30 today and get your truck connected in less than five minutes. Contact our team to verify compatibility and start tracking HOS logs with confidence.
What's next

Appreciation week
September 8, 2026
National truck Driver Appreciation week 2026
Happy National Truck Driver appreciation week from the Motion ELD team. National Truck Driver Appreciation Week returns September 13–19, 2026, honoring the millions of professional drivers who keep America moving every day.
DOT
September 3, 2026
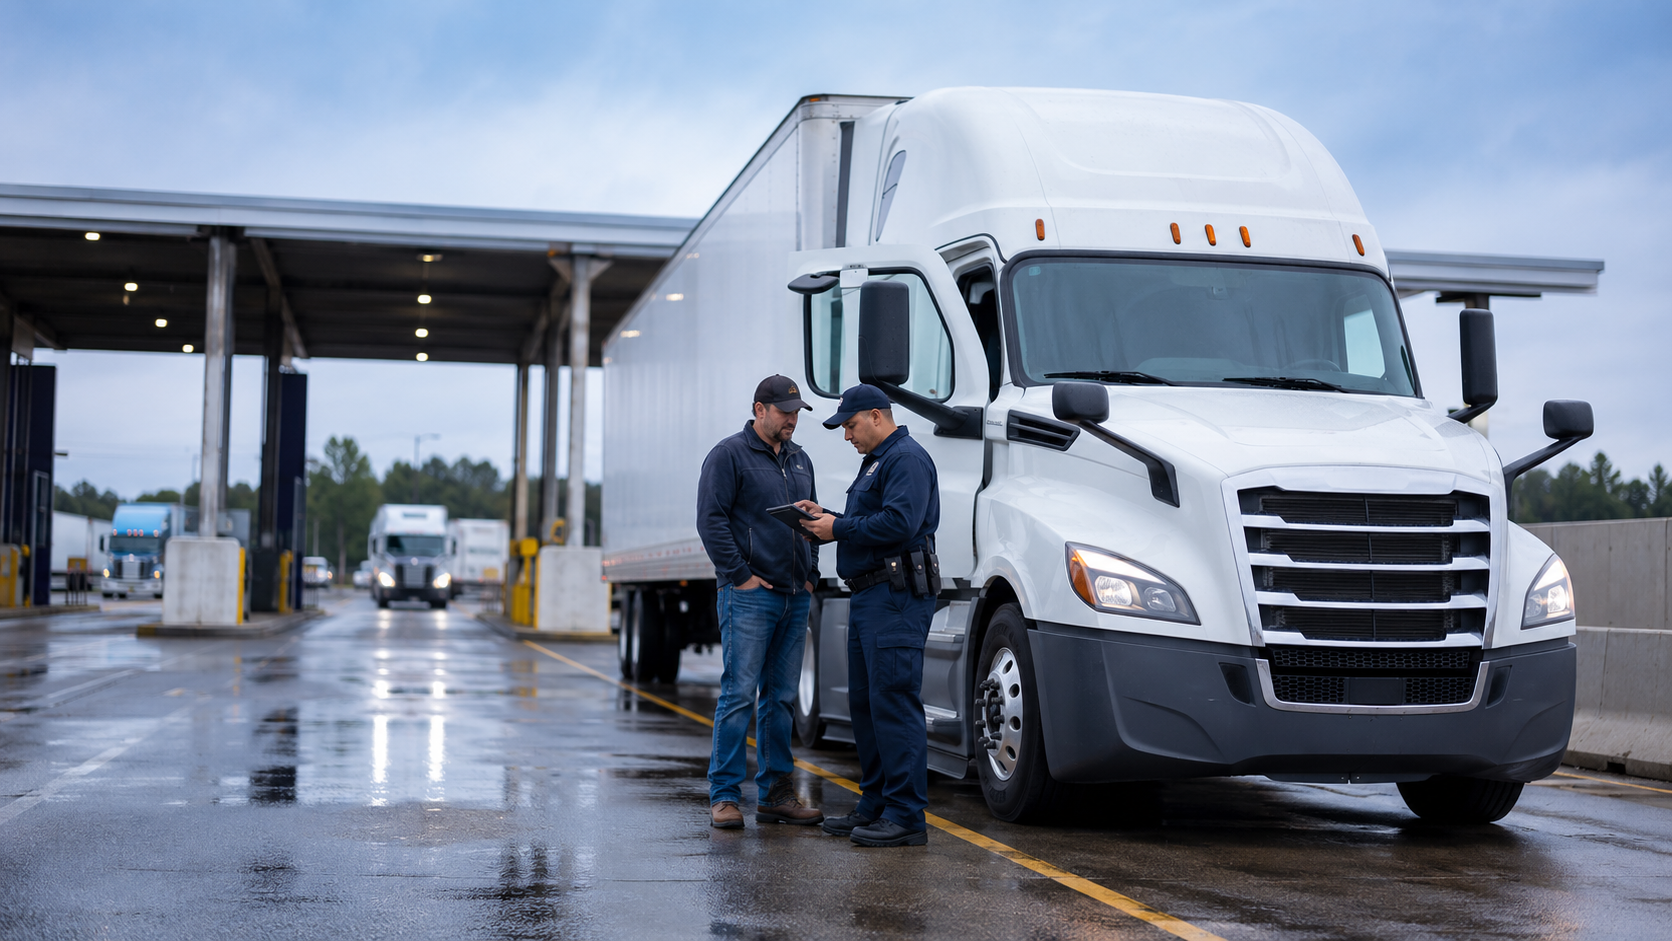
Fewer DOT Inspections, More OOS violations: What carriers need to know in 2026
FMCSA data shows that roadside inspections are down in 2026, but out-of-service violations have reached a five-year high. Learn how carriers can stay inspection-ready with Motion ELD.

ELD
August 26, 2026
5 ELD mistakes that can cost your fleet money
However, simply having an ELD installed does not guarantee that your fleet is protected from compliance problems or unnecessary costs. Here are five common ELD mistakes that can create risks for your fleet.